How to Set Up a Tennis Net – The Ultimate Guide
- Admin
- Blog Posts
- 9 Aug 2024
-
595views

Learn how to set up a tennis net correctly, ensuring optimal play & adherence to regulations with this comprehensive guide from Edwards Sports.

As a tennis court equipment specialist supplying tennis nets and net posts to competitions, including Wimbledon and clubs worldwide, we know a thing or two about how to set up tennis nets in accordance with ITF regulations!
Learning how to set up a tennis net properly is key to running a successful tennis club or team.
Our guide covers how to install a tennis net when setting up your court for training and competitions, according to International Tennis Federation standards.
How to Install a Tennis Net
Installing a tennis net properly is integral to ensuring your professional training and competitions comply with regulations and are safe for players and spectators.
Here's our ultimate guide on how to set up a tennis net.
Step 1: Prepare the Net Posts
Begin by fully unwinding the net's mechanism to ensure it operates smoothly. If an old net is already installed, remove it, taking care to detach any fasteners or hooks.
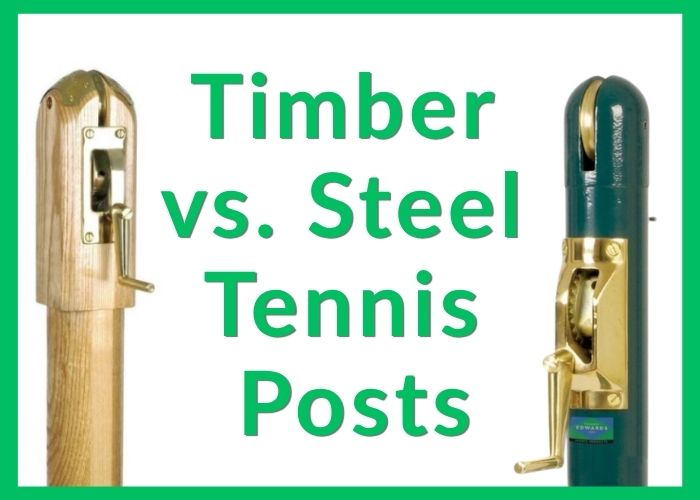
Inspect the net posts for any signs of wear or damage. This is a great time to grease the winder mechanism to keep your net posts working properly. If they show significant deterioration, consider replacing them for optimal performance.
Finally, ensure that the posts are securely anchored and upright, ready for the new net installation.
|
Top Tip: Other tennis court maintenance should be carried out at this time to keep your playing surface uniform, safe, and up to professional standards. |
Replace old or worn posts with our range of professional tennis posts
Step 2: Unroll & Lay Out Your Tennis Net
Next, unroll your new net and lay it flat on the court. Unrolling and laying out your new or existing net before installation helps prevent tangles and twists, making the process easier.
When the net is flat, you can easily find the centre and ensure it’s correctly positioned between the posts.
This preparation also removes kinks and creases that can impact the net's performance and durability, leading to a well-installed net that meets regulations.
Step 3: Inspect Your Netting for Wear & Tear
While your net is lying flat on the court, it's a great time to check it for wear and tear, especially if it's been in storage for an extended period of time.
If your net is brand new, we still recommend checking it for manufacturing issues that may have been missed in quality control.
|
When retrieving your tennis net from storage, ensure to check for the following:
|

Step 4: Secure the Net to the Anchor Net Post
Begin at the anchor post end and wrap the headline wire around the retaining hook. Usually, there’s a notch or wheel at the top of the anchor post, so lay the headline wire over the top of the post towards the winder post.
When you later tension the net, the headline wire should fit nicely into this groove or over the wheel. You might need to adjust it into place as you go.
Step 5: Insert the Pin in the Winder Mechanism
Start by threading the 'pin' end of the headline wire over the brass wheel and guiding it down through the top of the post until it comes out through the winder mechanism. Alternatively, you can pass the headline wire over the brass wheel and down the outside of the winder post for ease.
Next, turn the winder handle until you see a small hole on the spindle, about 5mm in diameter – just big enough for the ferruled 'pin' end of the headline wire to fit through.
Carefully insert the ferruled 'pin' into this hole. While holding the wire with one hand, turn the winder a few times to secure the pin in place.
Step 6: Add Tension to the Net
Continue to turn the winder handle to increase the tension on the net. For effective tensioning, it's crucial to ensure that the headline wire is properly positioned between the notches or wheels located at the top of each post.
Step 7: Ensure the Height is Within Regulations

Once you've tensioned the net, make sure it's at the correct height for the players or the tennis competition you're setting up for. You can adjust the height by adding or releasing tension as necessary.
You can also keep your net at regulation height with a centre strap for your net. Learn how to install one with our guide.
How to Install a Tennis Net Centre Strap
|
Read our guide to the official tennis net height rules and regulations to find out the regulation net heights applicable to your court. |
Step 8: Secure the Net to the Sides of the Posts
To finish setting up your net, thread the net retaining bars down through the side of the net for each post, alternating between sides as you pass through each hole.
For those using older-style tennis posts, securely attach the net to each of the pigtails, ensuring that the sides of the tennis net remain as vertically parallel to the posts as possible.
Is Setting Up Portable Tennis Nets Different From Permanent Courts?

Yes, setting up portable tennis nets is different from permanent court setups. While the fundamental principles of net installation remain similar, portable nets typically come with their own specific mechanisms for anchoring and tensioning.
These nets are designed for convenience, allowing for quick assembly and disassembly. Instead of concrete sockets or fixed posts, portable nets use weighted bases or stakes that provide stability during play.
Additionally, the height adjustments on portable nets often incorporate simpler, user-friendly systems, making it easier for players to set up in various locations.
| Feature | Portable Nets & Posts | Permanent Nets & Posts |
|---|---|---|
| Setup Time | Quick and easy, usually minutes | Requires installation, often hours or days |
| Portability | Highly portable, can be moved or stored | Not portable, fixed in place |
| Durability | Generally less durable, suitable for occasional use | More durable, withstands frequent use |
| Cost | Typically lower upfront cost | Higher initial cost but potentially lower long-term maintenance |
| Suitability | Ideal for temporary courts, practice, or limited space | Best for dedicated tennis courts with regular use |
| Court Surface | Can be used on various surfaces | Requires proper installation on specific court surfaces |
| Wind Resistance | Less wind resistance, so may require additional anchoring | More wind resistant due to installation |
Key Takeaways: How to Set Up Tennis Nets For Training & Competitions
Setting up a tennis net correctly is important for both practice and competition.
A properly installed net maintains the right height and tension, promoting fair play and helping players develop their skills. It reduces interruptions during games and training sessions, allowing athletes to concentrate on their technique.
To learn more about tennis court installation, read our tennis court dimensions & size guide.
FAQs
How to Store Tennis Nets Between Seasons?
To store tennis nets between seasons, ensure they are clean and dry. Fold the net carefully to avoid creases, and place it in a protective bag. Use net post sleeves to keep your posts protected from damage. Store in a cool, dry location to prolong the lifespan of your equipment.
How Do You Adjust a Tennis Net?
To adjust a tennis net, turn the winder mechanism to increase or decrease tension. Ensure the height is compliant with regulations by adding or releasing tension as needed, maintaining the net’s verticality and overall stability.
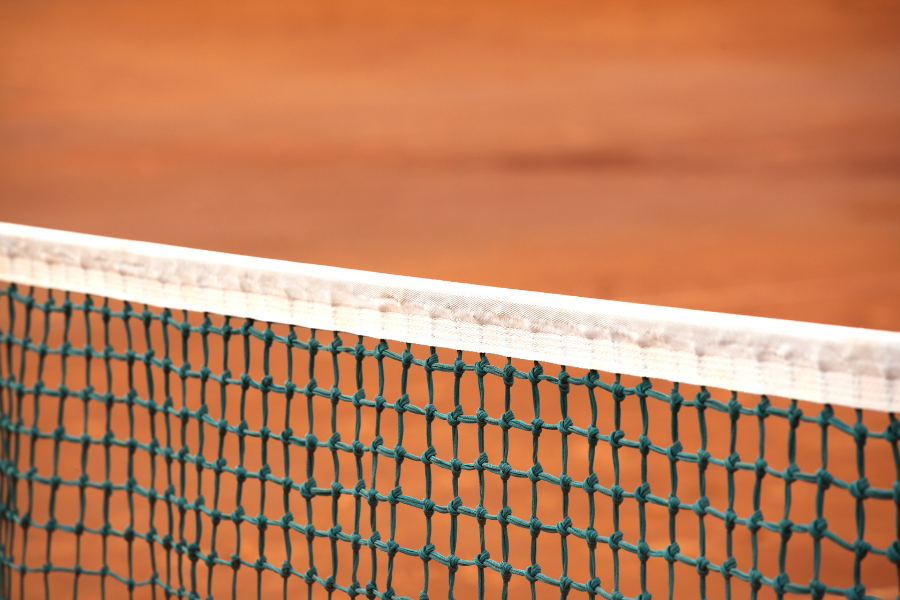
How Does a Net Headline Become Damaged?
A net headline can become damaged due to frequent impacts from tennis rackets and balls, leading to frayed edges or tears. Improper tensioning can also strain the material, while exposure to weather elements may weaken its integrity, reducing its effectiveness during play and leading to potential replacement needs.
Related Posts


Categories
Recent Posts